
Create your own tiny dessert



How it works

1. Pick your design
Choose a miniature theme that catches your eye. Review its product details and confirmed kit contents before you begin.
2. Make it your own
Work with the materials for your chosen design and follow their preparation and drying or curing directions.
3. Add the finishing touches
Arrange your miniature details, complete the project and find a little space to display or share it.
Frequently asked questions
Am I buying a finished model?
This series consists of DIY materials kits. Making and assembly are required. Photos show completed examples, and your finished result may vary.
What comes with my kit?
Contents vary by design. Check the individual product description for the confirmed packing list. Background props in completed-scene photos do not establish kit contents.
Does the clay need baking?
The method depends on the materials supplied. Follow their instructions for drying or curing rather than assuming oven baking is required.
Is the finished project edible?
No. It is a decorative craft project, not food. Keep small pieces away from young children and pets.
Can I ask about materials or kit contents?
Yes. Contact zjy0962@gmail.com before ordering if you need help checking a design.
Design details
Design details
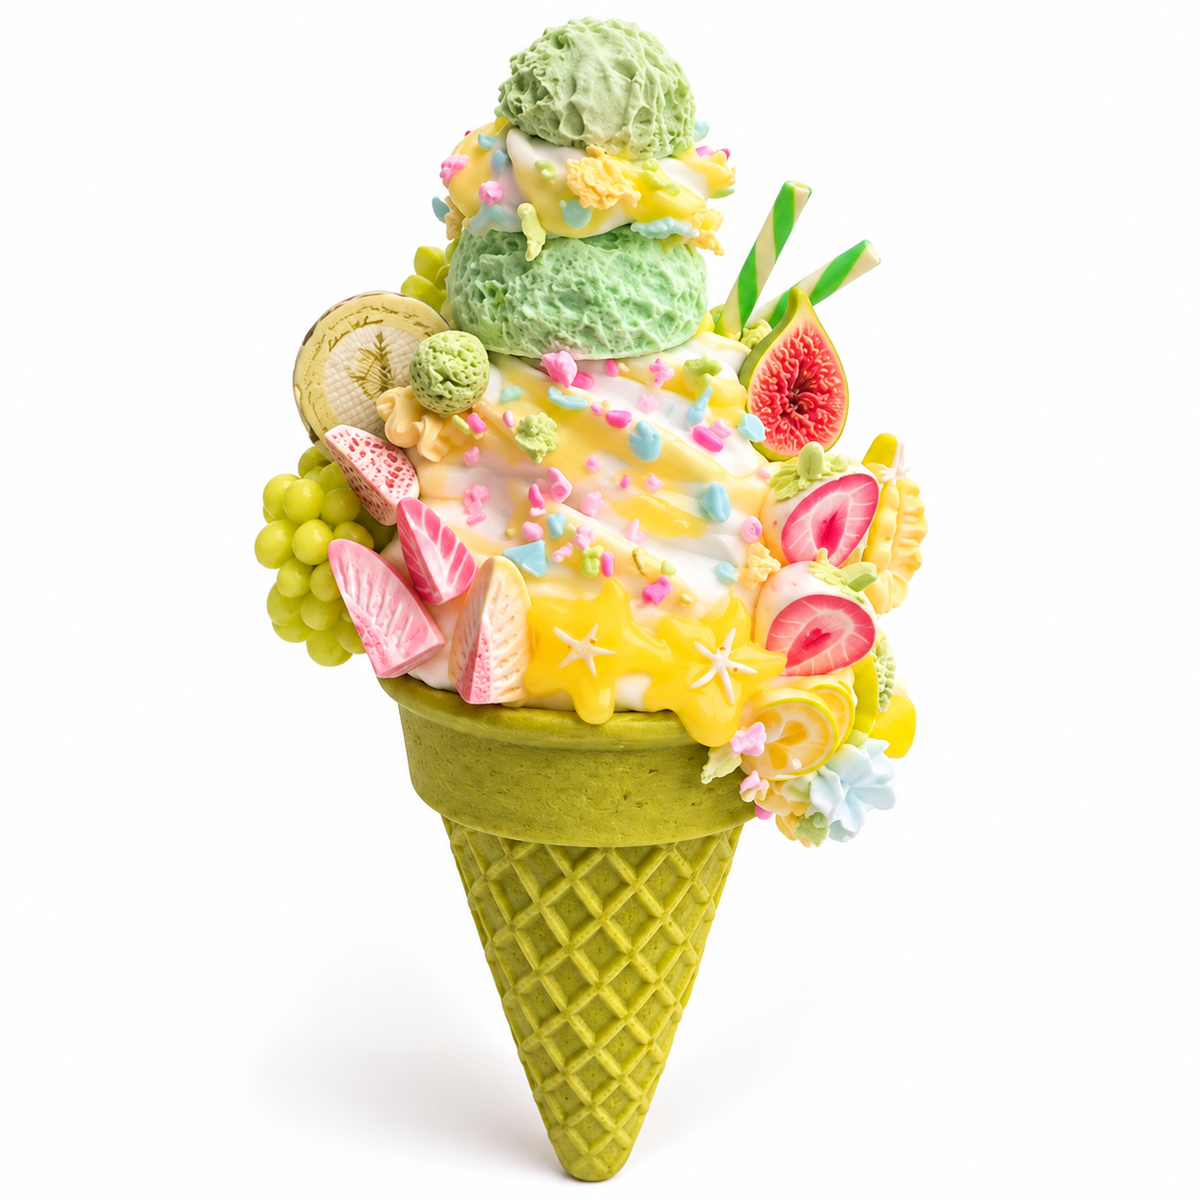
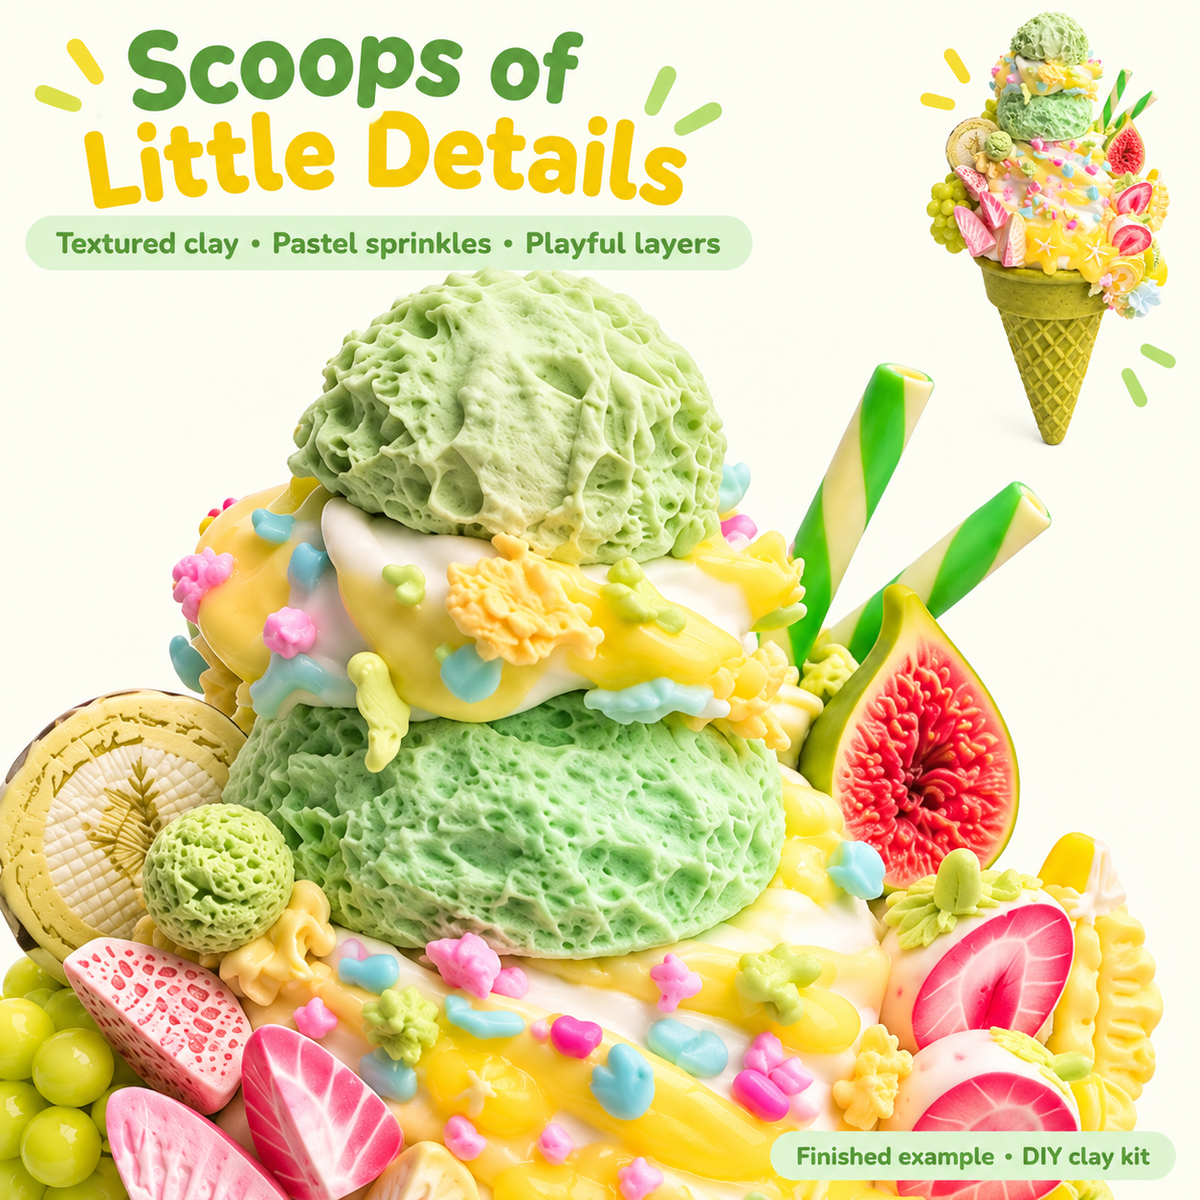
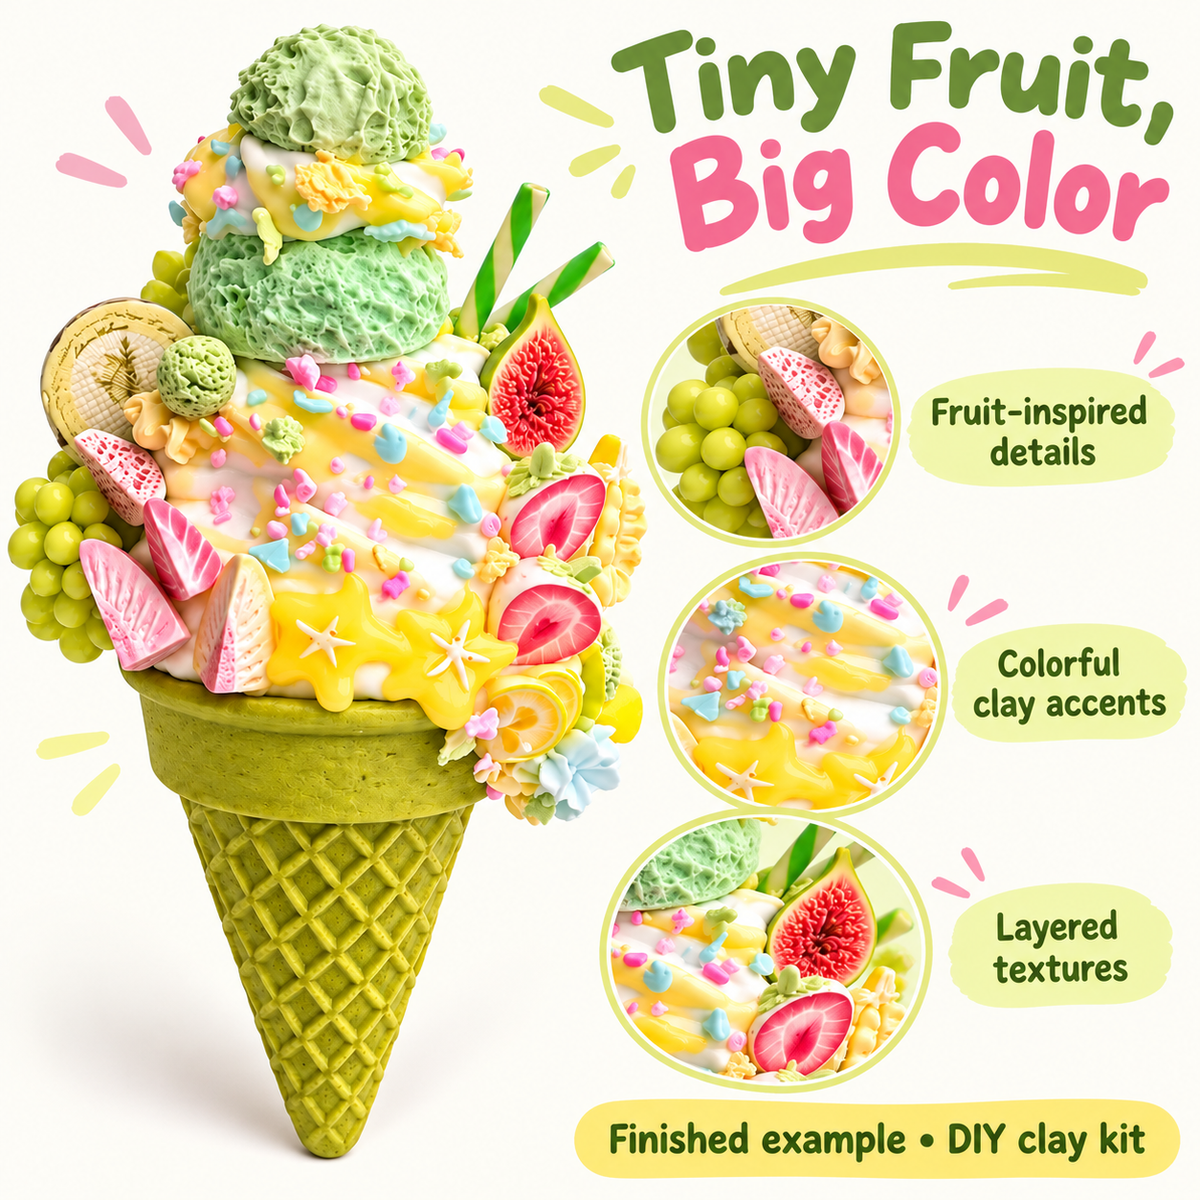
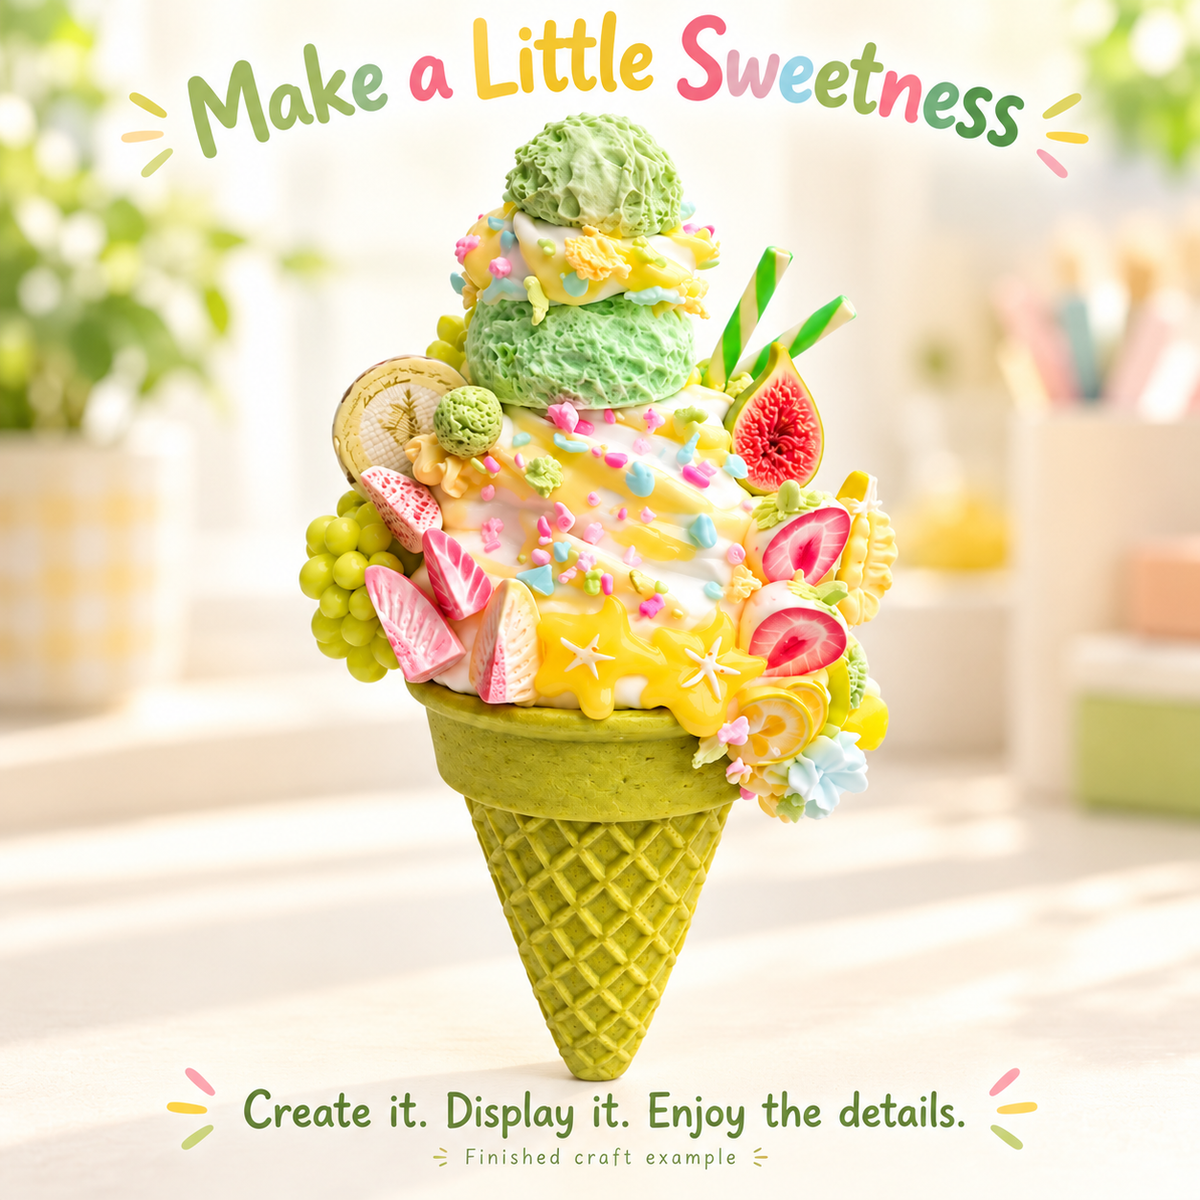
Build a colorful dessert-inspired display from clay. This DIY craft kit features a green waffle-style cone, textured green scoops, bright yellow decorative drips, pastel sprinkles and a generous arrangement of miniature fruit accents.
One kit makes one decorative ice cream cone model. The gallery shows a finished handmade example. This is a clay materials kit for shaping, assembly and decorating.
Sweet-looking details to create
- A green cone with a textured waffle pattern.
- Stacked scoop shapes with a softly textured surface.
- Yellow and cream decorative layers with pastel accents.
- Fruit-inspired slices, a grape cluster, striped wafer-style ornaments and small finishing details.
Materials and tools included
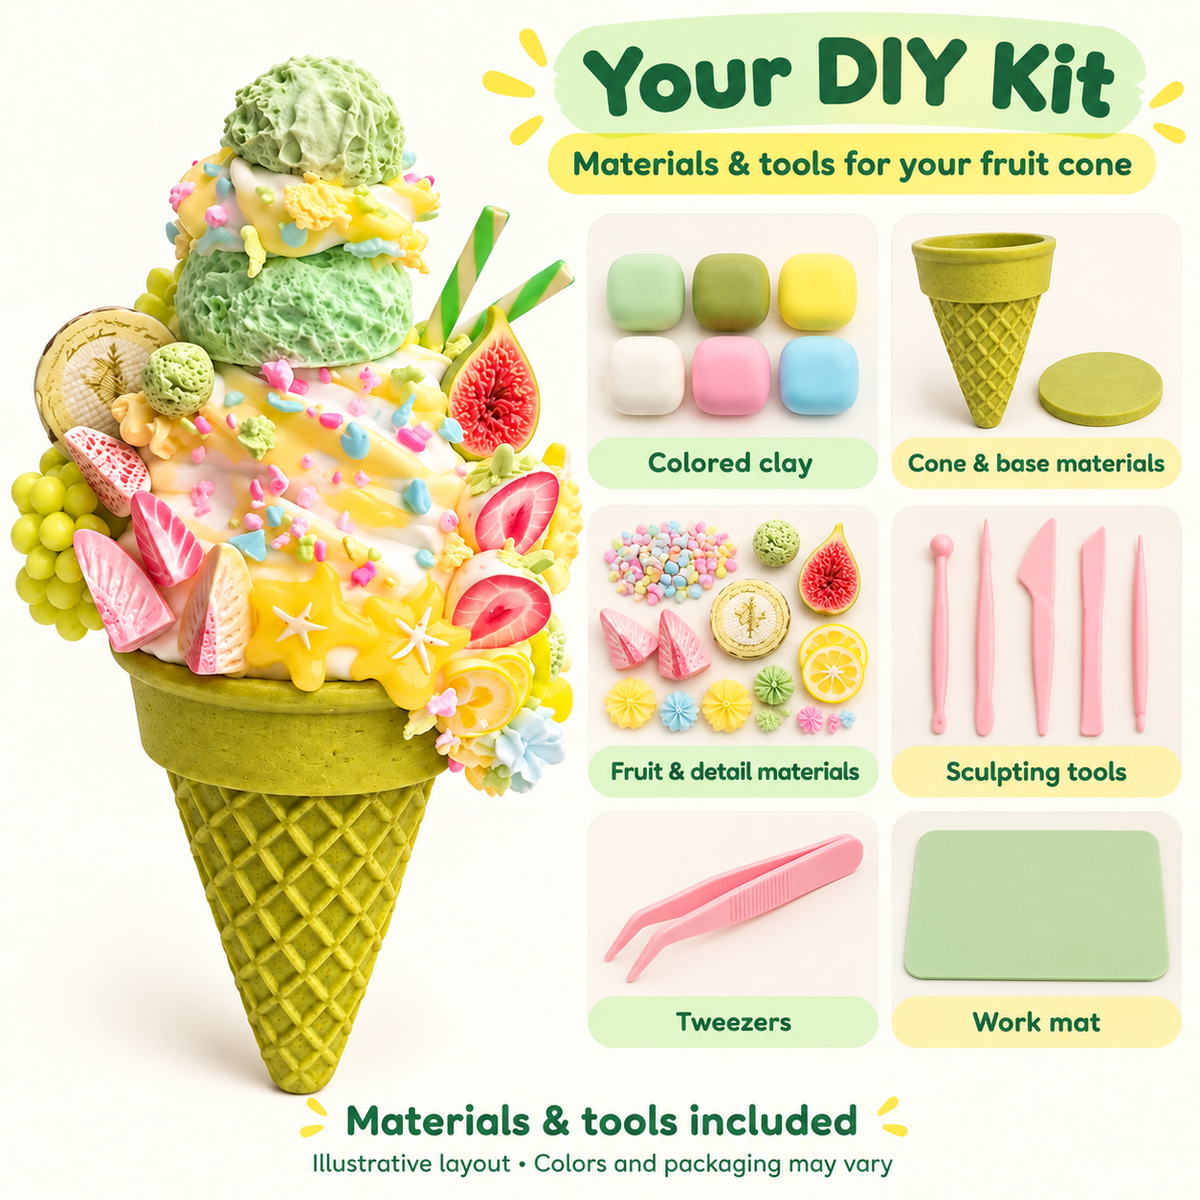
The kit includes the materials and tools needed to make the pictured design: colored clay, cone and base-making materials, fruit and decorative-detail materials, clay sculpting tools, tweezers and a non-stick work mat.
The kit overview illustrates material categories. Clay colors, packaging and individual component appearance may vary. The decorative toppings are made or arranged as part of the craft project.
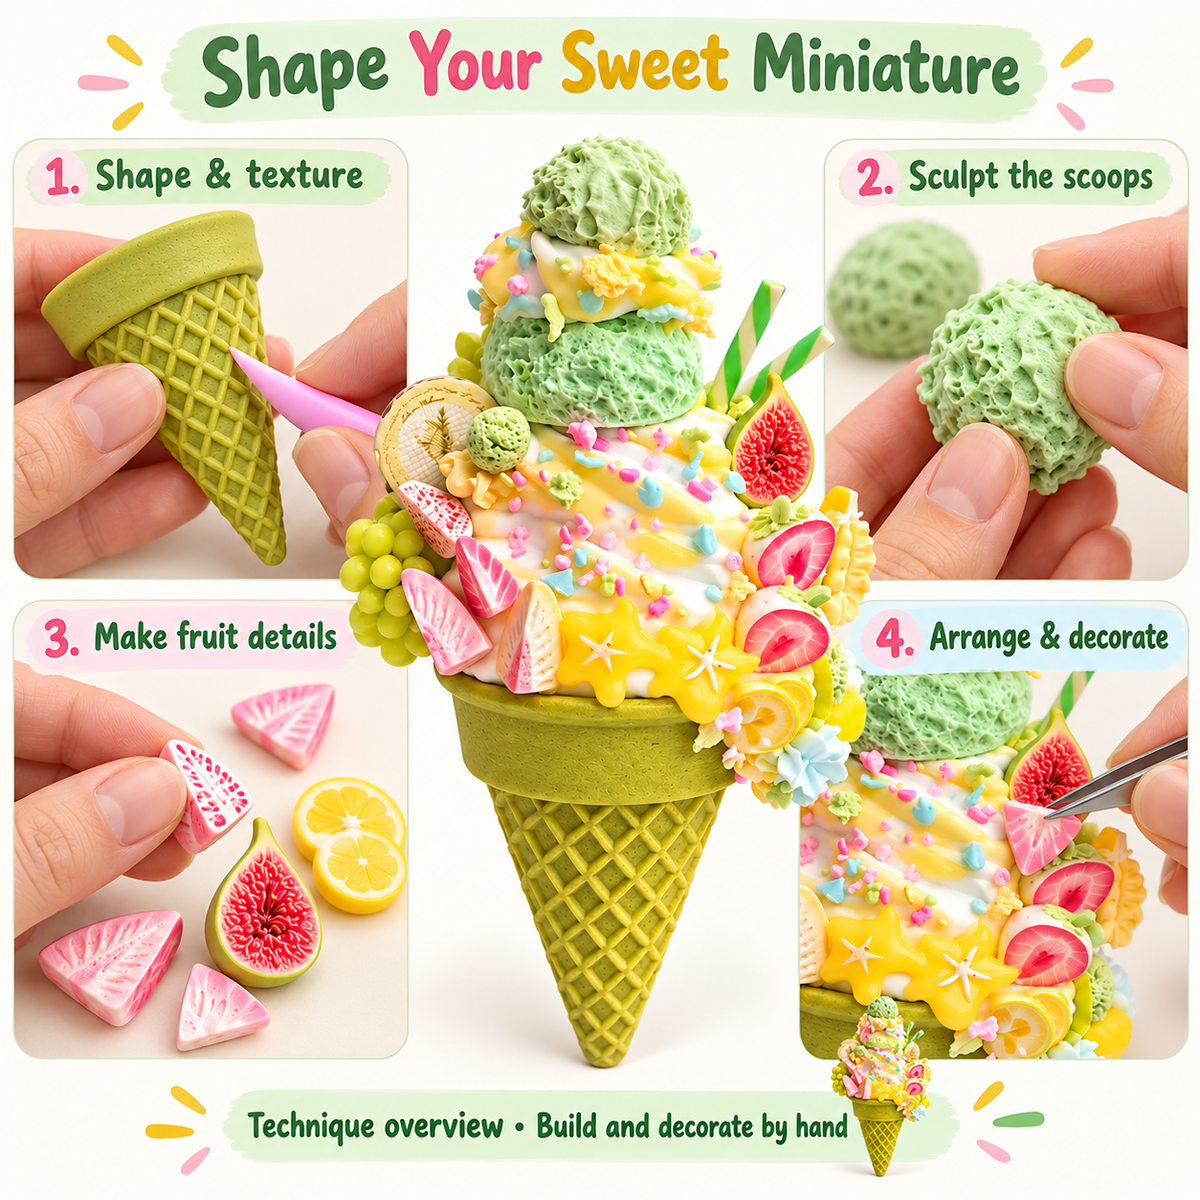
Shape, texture and decorate
Form the cone, add waffle texture, sculpt the scoop shapes and arrange the small fruit accents. The gallery includes a general clay-technique overview. Each handmade result will vary slightly in detail and placement.
A playful clay project for a miniature collection or craft display. Children should craft with adult supervision.